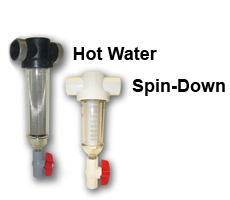
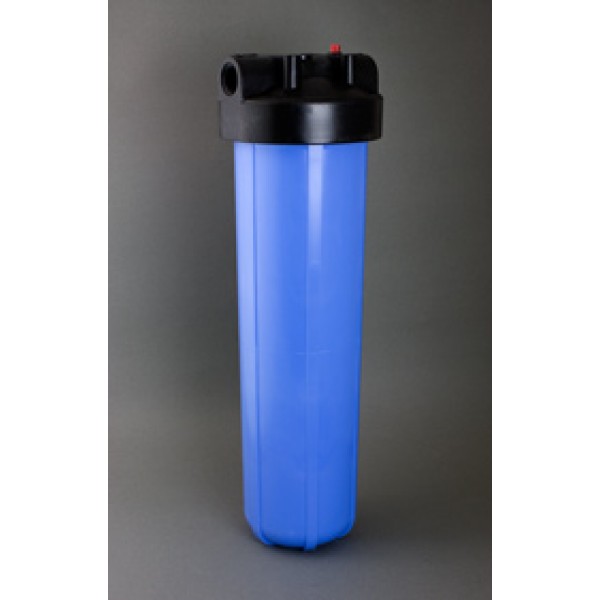
MERRILL SPIN DOWN SEDIMENT FILTER
- Step 1: It is recommended that the clear cover be removed from the PVC body prior to the gluing process, as any
excess glue that comes in contact with the clear cover will damage it, voiding the warranty. - Step 2: The filter should be installed in a location that protects it from damage. Potential filter damage
considerations should include impact, freeze, excessive heat, chemical contact and water hammer. - Step 3: Install the filter in the preferred vertical position with purge outlet pointing down. However, the filter will work
in the horizontal position if unable to be installed in the vertical position. - Step 4: The filter should be installed where the filter can be accessed for proper cleaning and maintenance. Any
drain line installed after the purge valve should be flexible tubing or attached with a union to avoid restricting access
to filter cover during removal and screen element cleaning. - Step 5: Install the filter on the pressure side of the pump to allow the filter to be cleaned by purging collected
sediment through the flush valve. - Step 6: Refer to arrows on the filter body for correct water flow direction when installing filter.
- Step 7: Provide a 1-1/2″ to 2″ air gap between flush valve and/or tubing and any drain device.
- Step 8:Adhere to all local and state codes, laws and regulations when installing filter.
- Step 9: Use approved solvent cement for gluing PVC connections. Follow gluing instructions outlined on glue
container. - Step 10: When installing on metallic plumbing, maintain proper electrical grounding. Do not overtighten threaded
connections (no more than two turns past finger tight). Do not overheat filter when sweat soldering copper
joints.

